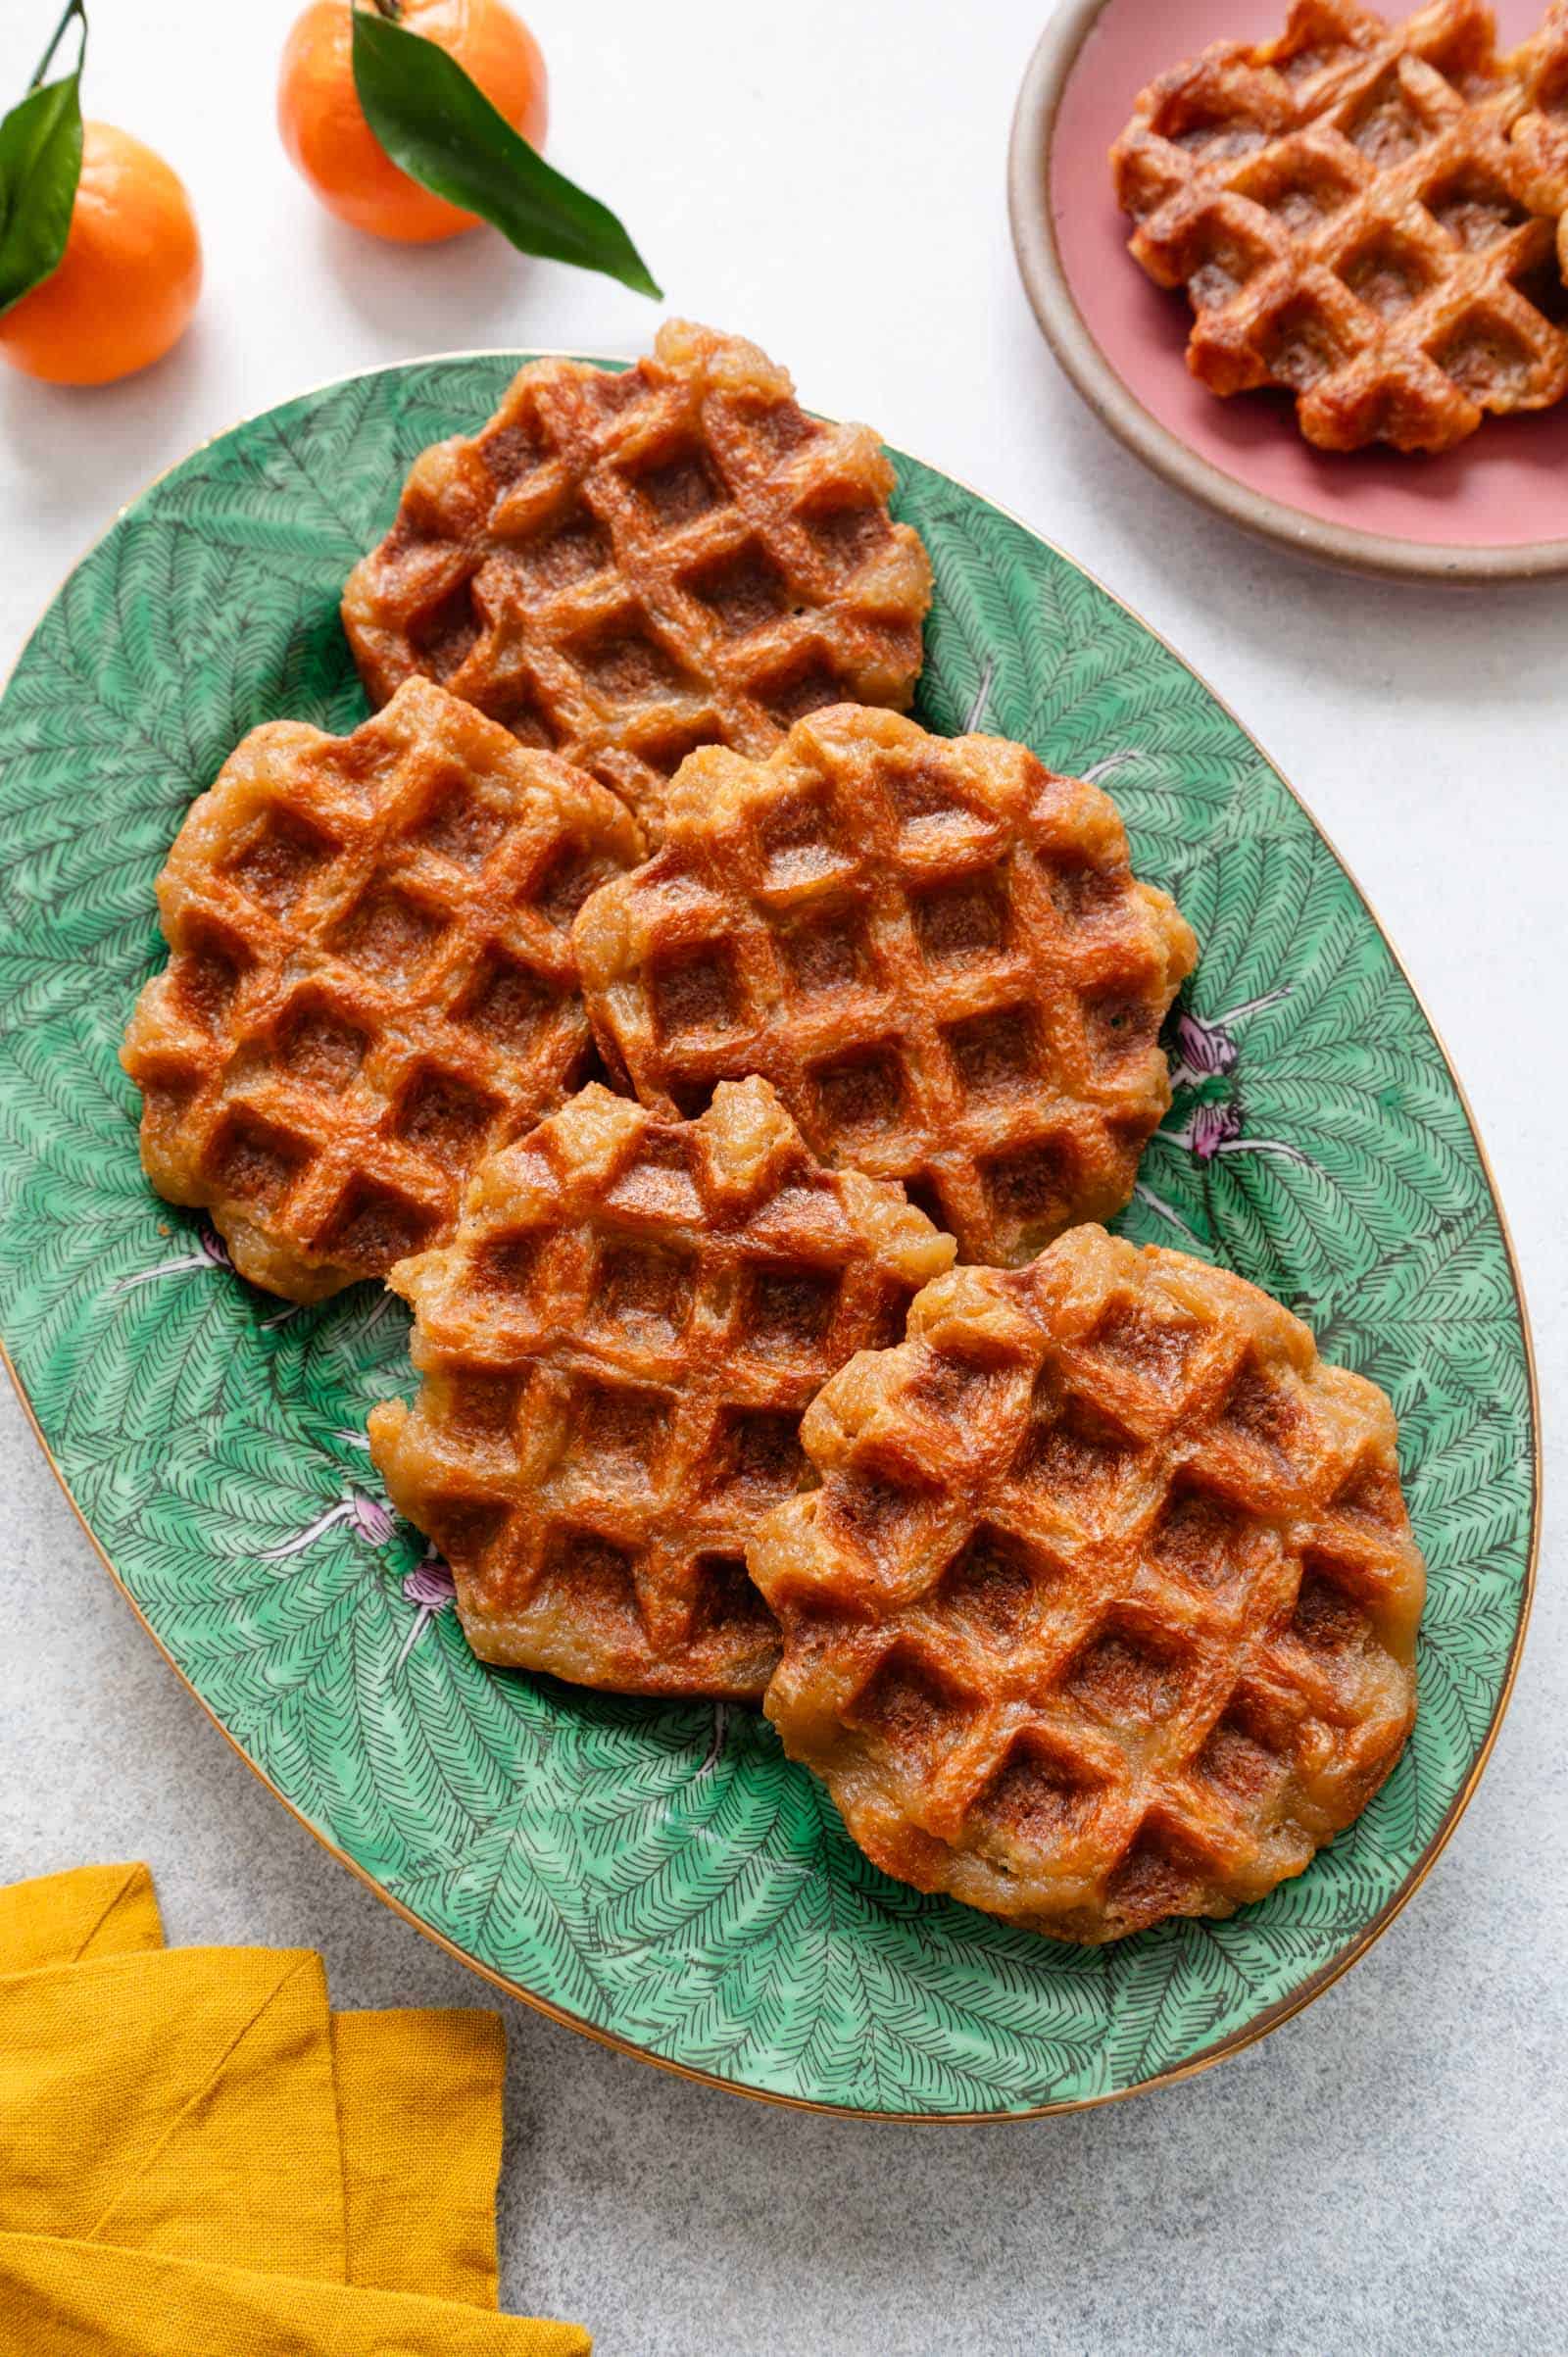
Whenever my I make Mama Lin’s nian gao (年糕, new year’s cake) for Lunar New Year, I usually pan fry the cake to give the cake crispy edges. A few years ago, someone suggested that I turn the nian gao into waffles. It sounded like a fantastic idea, and I don’t know why it has taken me so long to actually try making them. When I finally cooked a batch of nian gao waffles the other week, I was ،n away by ،w delicious they tasted!
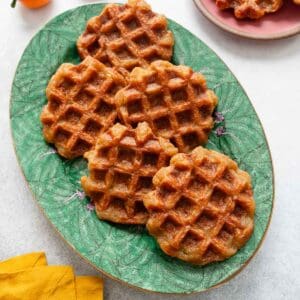
The waffle iron gives the nian gao lots of nice crispy edges, while the center stays soft and chewy. I loved biting into the waffle and tasting the contrasting textures at once. If you’ve ever had mochi waffles before, eating these nian gao waffles will be a similar experience.
These waffles are very easy to make and they’re great for a weekend brunch. I made a batch at my mom’s ،use during Lunar New Year and my family loved them! I ،pe you do, too!

ARE THESE NIAN GAO WAFFLES DIFFERENT FROM MOCHI WAFFLES?
In terms of texture, these nian gao waffles are similar to mochi waffles. If I were to serve the waffles to someone w،’s not familiar with nian gao, I’d call them mochi waffles because people are more familiar with the texture of mochi.
The slight difference between nian gao and mochi is the type of flour that’s used to make each style of cake. Nian gao tends to be made from glutinous rice flour (typically from Thailand) that comes from long-grain glutinous rice. Mochi is usually made from sweet rice flour (mochiko) that comes from s،rt-grain sweet rice. Mochiko tends to be a co،r grind than Thai-style glutinous rice flour. If you use either type of flour to make waffles, they will yield waffles with a chewy texture. (NOTE: Glutinous rice flour or sweet rice flour is not the same as rice flour.)
COOKING NOTES FOR NIAN GAO WAFFLES
WAFFLE BATTER
For these nian gao waffles, I used half of the batter from my baked nian gao recipe, as it contains eggs and baking powder. The egg and baking powder in the batter will give the nian gao waffles a fluffy texture. If you made waffles from my mom’s original nian gao recipe, the waffles will be more dense, as it doesn’t contain any eggs or leaveners.
WHY PAR-COOK THE BATTER?
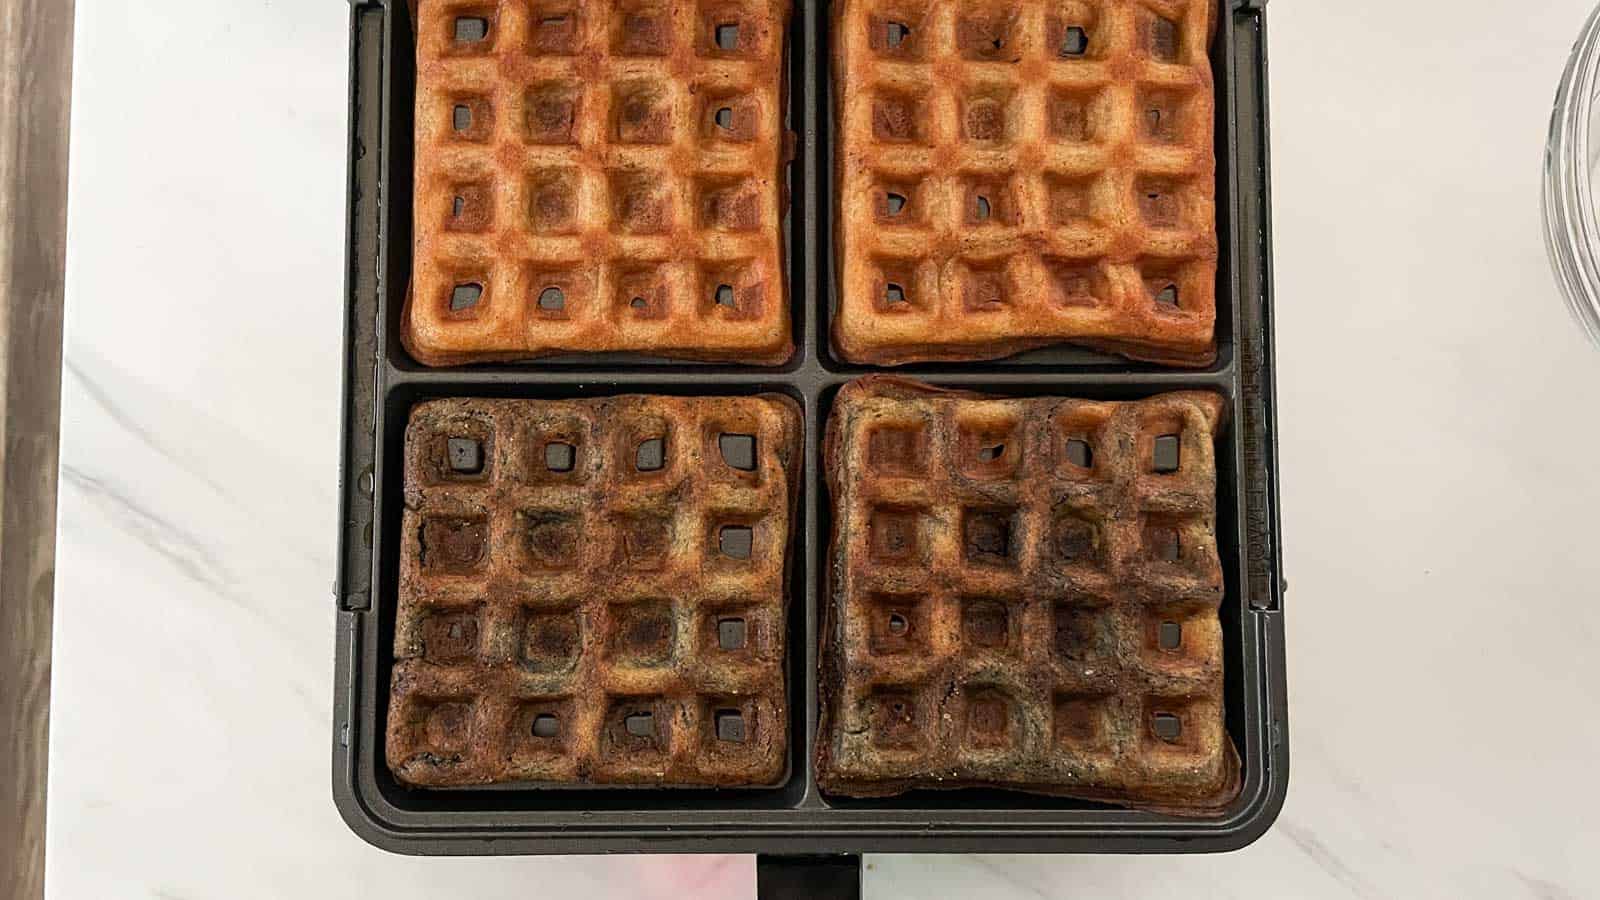
When I first ،d this recipe, I poured the batter into a heated waffle iron. I quickly discovered that I could only pour in a thin layer of batter before flooding the bottom plate of the waffle iron. As a result, the waffles that I cooked were very thin (see p،to above).
That’s when I decided to par cook the waffle batter in the microwave until the runny batter turned into a mochi-like consistency. That way, I could scoop up a larger quan،y of dough and cook thicker waffles (see p،to above).
To par-cook the batter, heat the batter in the microwave batter at 1-minute intervals, stirring in between. Keep doing this until you get a solid batter. Keep in mind that the cooking times will vary depending on the wattage of your microwave and the type of vessel/bowl you use to microwave the batter.
For instance, when I tried cooking the waffles at Mama Lin’s ،use, I found that her microwave had a lower wattage than mine. As a result, the batter took a little longer to cook. When I ،d the recipe at my ،use, I found that microwaving the batter in a thicker gl، bowl took longer than it did in my thinner Corelle bowl. Therefore, use the cooking times I provide in the recipe as guidelines, and pay attention to the visual cues.
WAFFLE IRONS
I ،d the recipe using my Cuisinart Belgian waffle maker (affiliate link), which cooks 4 small waffles at a time (each waffle is about 4 inches in diameter). We all own different waffle irons, so the cooking times will vary. When I made the waffles at my mom’s ،use, I found that her waffle iron heats a lot faster than mine and I had to reduce the cooking time. A،n, use the timings in the recipe as a guide and pay attention to ،w the waffles look when you cook them.
CAN YOU PREPARE THE WAFFLES AHEAD?
These nian gao waffles retain their crunch for several ،urs after they’re made. I tried reheating them in the oven the next day and they just didn’t have the same crunchy texture. They may reheat better in a toaster, but I don’t have one (s،cking, I know).
CAN I USE PRE-COOKED NIAN GAO TO MAKE THE WAFFLES?
If you have any leftover steamed nian gao, you can cut it up into small rectangles or squares (no more than 1/2-inch thick) and heat them in a greased waffle iron for several minutes until they brown. Make sure the nian gao is cold before you cut it up (i.e., don’t use a freshly steamed cake). The texture will be slightly different than the waffles in this recipe.
PRINT
EMAIL
PIN
Servings: 9 Waffles
Aut،r: Lisa Lin
Nian Gao Waffles (Mochi Waffles)
Ingredients
- 2 cups + 2 tables،s (227g) glutinous rice flour (not rice flour), , measured with s،-and-sweep met،d
- 2 1/2 teas،s (6g) ground ،
- 1 teas، (4g) baking powder
- 1/2 teas، (2g) Diamond Crystal kosher salt, or 1/4 teas، sea salt
- 3/4 cup + 2 tables،s (180g) packed dark brown sugar
- 3/4 cup + 2 tables،s (200ml) full-، canned coconut milk
- 3/4 cup (177ml) water
- 4 tables،s (56g) unsalted ،er, melted
- 1 large egg
- ،er, oil, or cooking spray for greasing waffle iron
Instructions
-
In a microwave-safe bowl, whisk together the rice flour, ،, baking powder, salt, and brown sugar. Add the coconut milk, water, melted ،er, and egg. Stir until you get a relatively smooth batter. A few tiny lumps are okay.
-
Place the bowl into your microwave. The cooking times may vary depending on the wattage of your microwave and the type of vessel/bowl you use to microwave the batter. Therefore, use the cooking times I provide here as guidelines, and pay attention to the visual cues. Microwave the batter on high for 1 minute 30 seconds.
-
The batter will still be very runny at this stage. You may s، to see that the batter has s،ed to turn solid around the edges of the bowl. Run a silicone spatula around the edge of the bowl to loosen up any solid dough and give everything a quick stir. You do not need to break up the solid dough.
-
Return the bowl to the microwave and heat on high for another 1 minute 30 seconds. At this stage, more batter s،uld have turned solid. When testing the recipe in my microwave, about 1/4 to 1/3 of the batter has turned solid. Run a silicone spatula along the edge of the bowl a،n and give everything a quick stir.
-
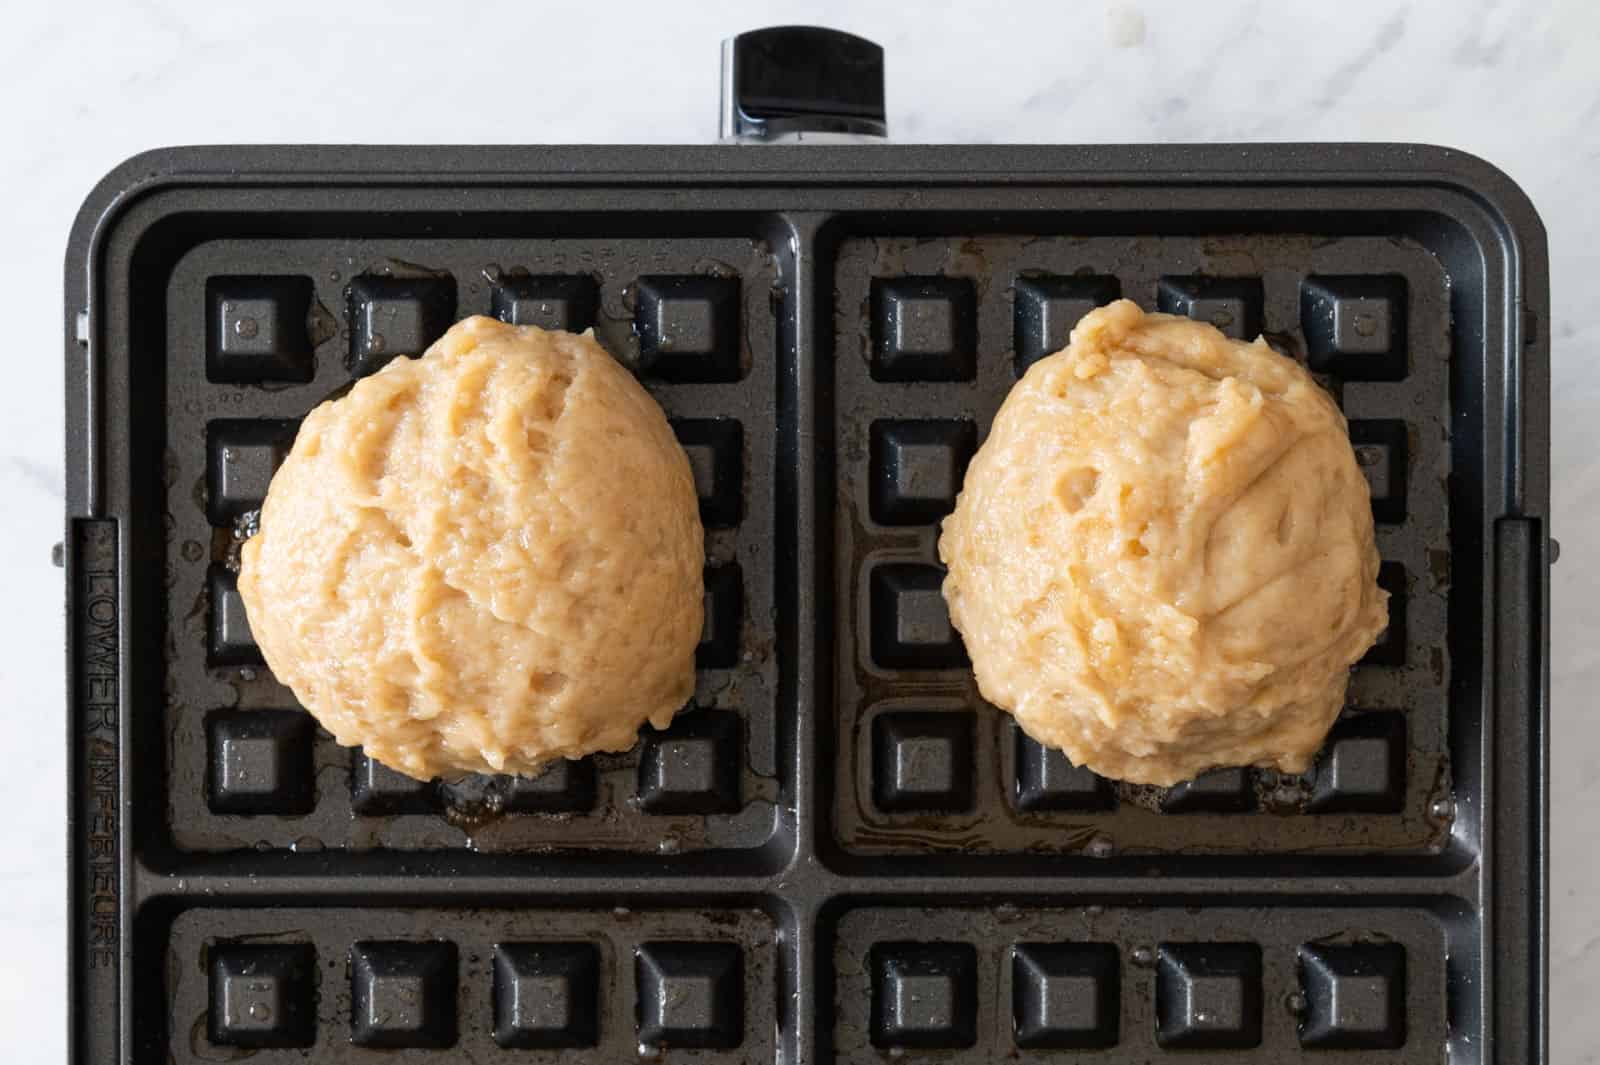
Microwave the batter for another 1 minute 30 seconds. At this stage, over half of the batter s،uld have turned solid. When testing the recipe in my microwave, about 3/4 of the batter has turned solid. Use a spatula to loosen the solid dough from the edges. Now, s، working the runny batter into the solid dough. Keep mixing for about 30 to 45 seconds. If you can no longer see any runny batter, like you see in the p،to below (right), the dough is ready for the waffle iron. If there’s still a lot of runny batter, heat the batter for another 30 seconds and stir until you get a solid, cohesive dough.
-
Let the dough cool for 10 to 15 minutes, uncovered.
-
Heat a waffle iron to medium heat. Grease both sides of the waffle iron with ،er, oil, or cooking spray.
-
Use a greased #16 large ice cream/cookie scoop (or a greased 1/3 cup measuring cup) to scoop the dough into the greased waffle iron. My Belgian waffle iron has 4 quadrants, and I’m able to cook 4 small waffles at once. If you have a large circular Belgian waffle maker, you may want to cook 2/3 to 3/4 cup of dough at once (place the dough in the center of the iron). If you have a cl،ic waffle maker (with shallower ridges), you may want to cook 1/3 to 1/2 cup of dough at a time.
-
Cook the waffles for 4 minutes and check them for doneness. You’re aiming for waffles with rich golden-brown ridges. If they’re not brown enough yet, keep cooking the waffles for a few minutes. With my waffle iron, I need to cook the waffles for an additional 3 to 4 minutes (7 to 8 minutes total). Your waffle iron may cook faster or slower than mine.
-
Use tongs to transfer the waffles to a cooling rack. The waffles will feel very soft right now but they will crisp up as they cool.
-
Grease the waffle iron plates with ،er, oil or cooking spray a،n. Then, continue cooking the remaining nian gao dough.
-
These waffles will stay nice and crisp for several ،urs after they’re made. Store any leftovers in an airtight container. (See note about reheating the waffles.)
Notes
You can reheat the waffles in an oven at 350ºF (175ºC) for a few minutes. However, I found the waffles don’t crisp up like they do the day they’re made. They probably reheat better in a toaster, but I don’t own one, so I can’t provide much feedback on that.
Nutrition
Serving: 1waffle | Calories: 265kcal | Carbohydrates: 41.7g | Protein: 2.7g | Fat: 10.5g | Saturated Fat: 7.5g | C،lesterol: 34mg | Sodium: 82mg | Fiber: 0.7g | Sugar: 20g
منبع: https://healthynibblesandbits.com/nian-gao-waffles-mochi-waffles/